
This article describes how to use the Image Zoomer for Virtuemart plugin.
Quick Start Guide
Install the plugin as normal using the Joomla installer. Once it is uploaded open the Joomla plugin manager, find the plugin (it is of type 'vmcustom'), and enable it. Once you have done this you will do everything further through Virtuemart, so click on Virtuemart->Products on the Joomla admin menu. Click on custom fields under the 'products heading'. You are going to use the plugin to create a new custom field type, so click the 'New' button. Now you will see the custom field editor (shown below).
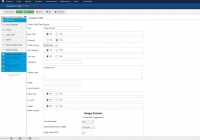
Give it a title that will help you remember what the field is, eg 'Image Zoomer', then set the type to 'plugins'. Lower down the page you should see the 'select a plugin' box appear. You should see 'Image Zoomer plugin for Virtuemart' appear in the list of plugins. Select this. You should see the list of options for the zoomer appear. For the moment we don't need to worry about them though, the plugin uses sensible default values for all this, so you should just be able to hit the 'Save and Close' button here. You only need to do all this once. Your new custom field type is now set up.
Adding the Zoomer to your Products
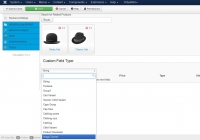
So you can now start adding the zoomer field to your products. You can add your single custom field type to as many products as you want. Open your selected product in the Virtuemart product editor, and click on the custom fields tab. In the custom field type select box, select the new Image Zoomer field type that you have just created:-
When you have done this you should see the field options appear, which consist of an image browser, and a box for the image title:-
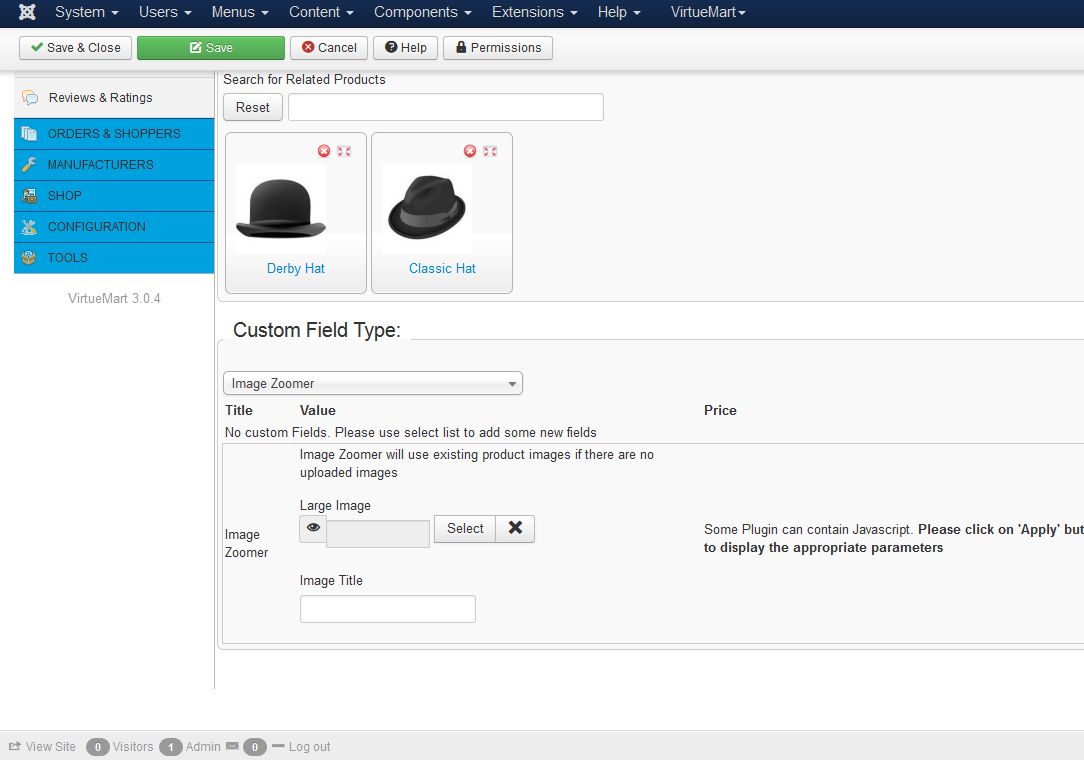
By default the plugin is set up to use the existing product images for the zoomer, so if that is all that you want, then you can just click 'save' here, and you are finished.
Alternatively you can use the image browser to upload a new image here. You just upload the large size image for use in the zoomer, the medium and thumb images will be automatically generated. If you want to show more than one image in the zoomer, select the Image Zoomer again in custom field type select box, and a second image browser should appear, allowing you to upload another image.
Now remember to click 'Save' or 'Save and Close'. The image zoomer is now set up for your product. Repeat for as many products as you want.
Image Zoomer Options
You may want to customize the appearance of the zoomer. If so you can go back to the global parameters for the custom field, which are accessed through the products->custom fields Virtuemart menu item. Click on the Image Zoomer title to open its editor. The options are shown below:-
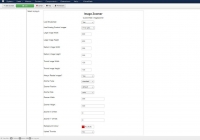
You can set the sizes for the large, medium and thumbnail images. It is best to have the same aspect ratio for all your images, and set the image dimensions here to match these. Often square images work well.
If you want to set the zoomer size you will need to change the zoomer size option to 'fixed' and specify the values for width and height, otherwise it will automatically match the medium image size.
The zoomer type option has several values: standard, reverse, inner zoom, drag and always on. The best thing is to experiment with this option to see which version you like, or look at out examples.
Layout Positions
Virtuemart defines several different positions for displaying custom fields, which controls where they will display on your product page. The predefined ones are: normal, ontop, onbot, addtocart. If you do not specify a layout position in the global custom field options then the 'normal' one is assumed, but you can assign an alternative position using the layout position option in the global parameters. In another article we describe how you can also create your own custom layout positions and use them to replace the main Virtuemart product image.

